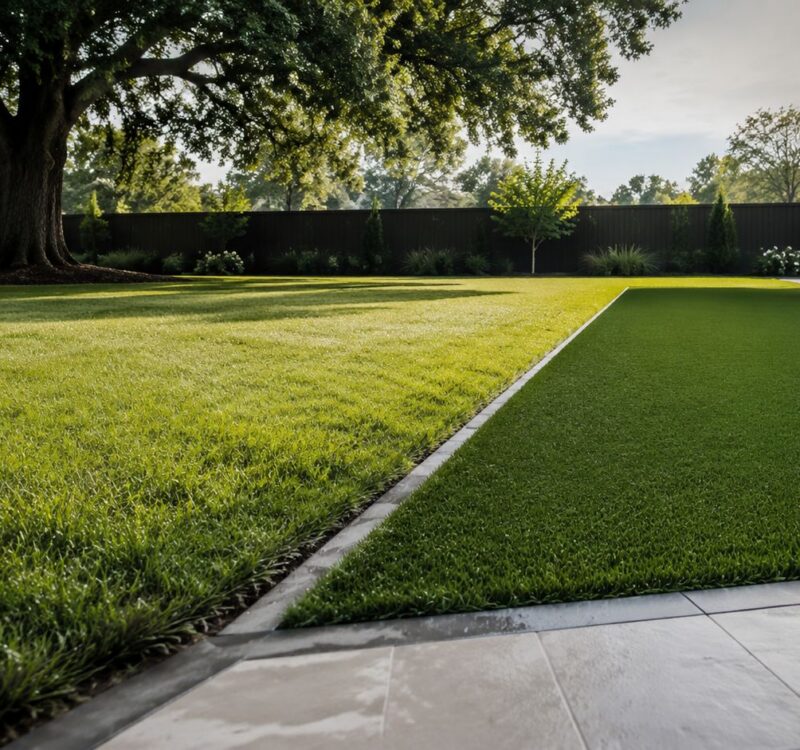
You're probably looking at a tree in the front yard or backyard and thinking the same thing a lot of North Texas homeowners do: the grass right up to the trunk looks unfinished, the mower keeps getting too close, and a simple stone ring seems like an easy upgrade.
It can be. But around mature shade trees in DFW, this project goes wrong all the time. People dig too close, bury the trunk flare, trap water in our clay soil, or build a border that looks sharp for one season and starts hurting the tree after that.
A good stone border should clean up the bed line, reduce turf competition, and make maintenance easier. It should not trade curb appeal for root stress. If you're planning to tackle this during a slower season, there's a reason many homeowners schedule projects during the Texas landscape offseason, when crews can work methodically and you have time to plan the details instead of rushing the install.
Why a Stone Border Is More Than Just Decoration
In North Texas, a stone border around a tree does more than frame mulch. It creates a buffer between trunk and turf, gives the bed a defined edge, and helps you stop string trimmers and mower decks from nicking bark. On young trees, that matters. On older trees, it matters even more because bark damage and root stress tend to show up later, not immediately.
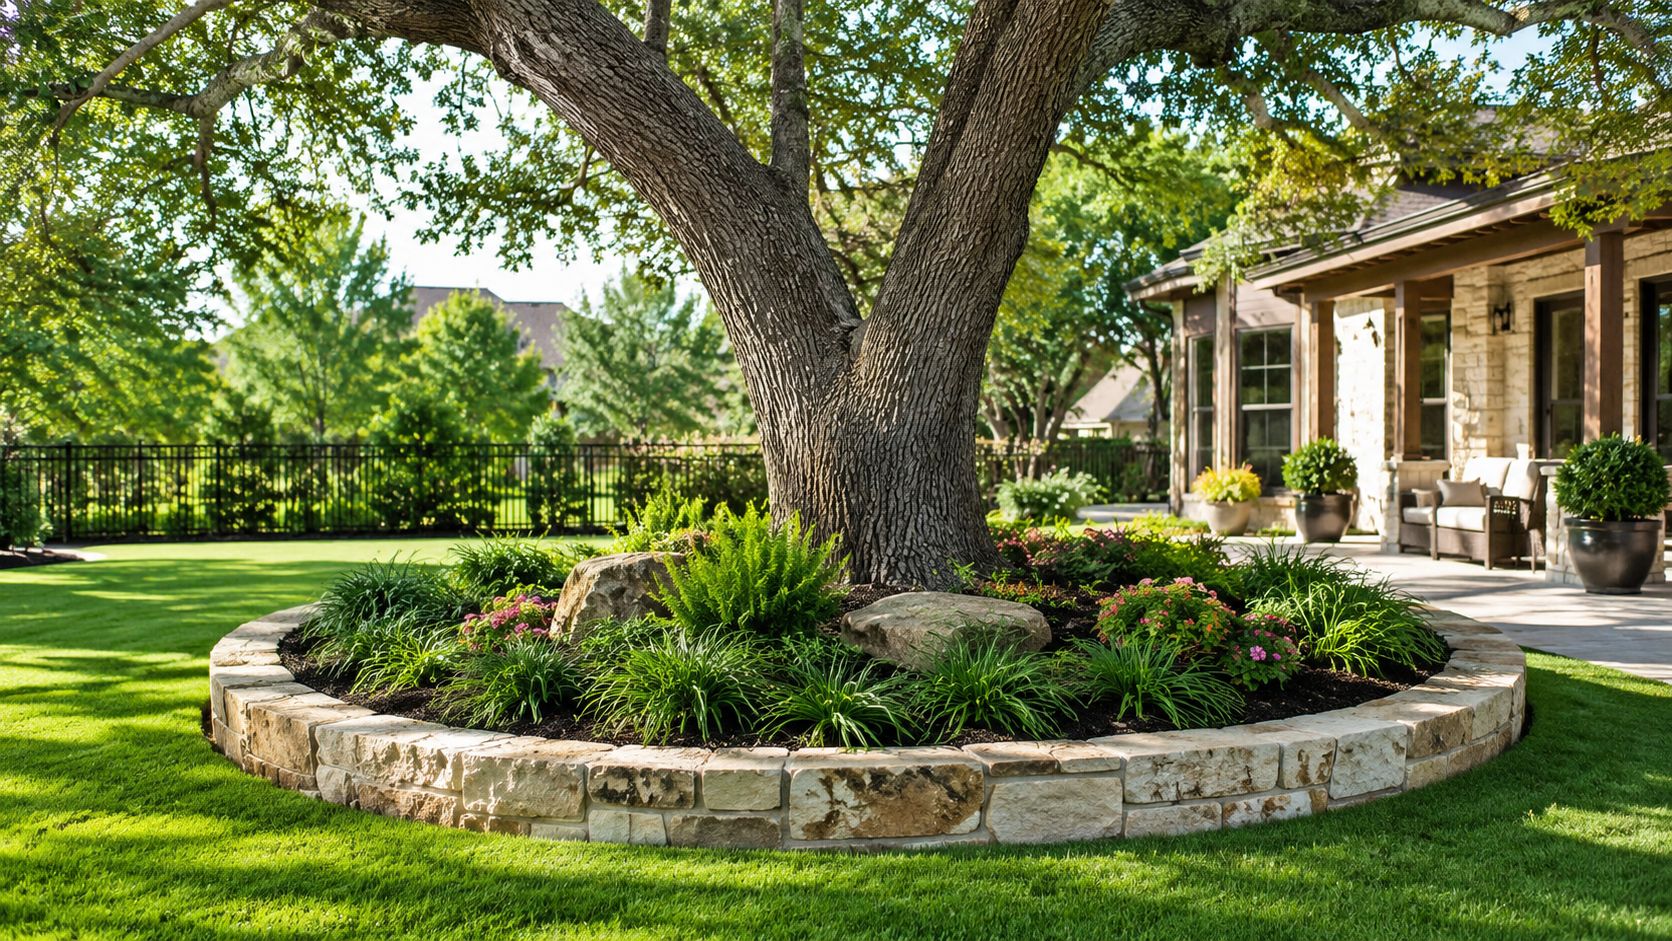
The bigger benefit is below ground. When grass grows right up to the base of a tree, the tree has to compete with turf for water and nutrients. That competition is constant during a DFW summer. A properly edged bed gives the tree a cleaner root zone and gives you a place to mulch correctly instead of piling material against the trunk.
What homeowners usually want
This project is often started for one of three reasons:
- Cleaner curb appeal: The yard looks more intentional and less like the tree was dropped into the lawn as an afterthought.
- Less maintenance hassle: Mulch stays put better, edging is easier to maintain, and mowing lines are clearer.
- Better tree protection: Equipment stays farther from the trunk, and the root zone gets some relief from aggressive turf.
What actually makes it successful
The border itself isn't the hard part. The hard part is building one that respects how trees grow in North Texas soil.
Practical rule: If the border looks great but covers the root flare, cuts roots, or traps stormwater, it's a bad installation no matter how nice the stone looks.
That's where most generic DIY advice falls short. It treats the tree like a post in the yard. A real tree-safe install has to account for trunk flare, surface roots, clay soil, and the fact that many DFW neighborhoods have mature trees that won't tolerate careless trenching.
Planning Your Border for Beauty and Tree Health
A good tree border starts with size and placement, not stone. Homeowners often pick material first, then realize the ring they marked is too tight to protect roots, too small for the canopy, or awkward in the yard once the mulch goes in.
In North Texas, that planning step matters even more because heavy clay drains slowly and mature trees often have surface roots well beyond the trunk. A border that looks clean on day one can create long-term stress if it crowds the root flare or encourages soil and mulch buildup where the trunk should breathe.
Start with the tree, not the stone
Use two reference points before you mark anything.
- Root flare: The base of the trunk where it begins to widen. Keep this visible from the start and after the project is finished.
- Dripline: The outer reach of the canopy. Stand back, find the farthest branch tips, and mark the ground beneath them to see how much root area the tree is already using.
- Border placement: Set the border far enough out to create a real mulch bed, not a decorative collar hugging the trunk.
For younger trees, you may have more freedom to shape the bed. Around older oaks, elms, and pecans, wider is usually safer and better looking. Tight circles are common in builder-grade yards, but they rarely help much with turf competition and they make mulch volcanoes more likely.
Choosing stone that fits the house and holds up
Stone choice comes down to appearance, height, and how much effort you want to put into installation. In DFW, it also needs to make sense with local materials and summer heat.
| Stone Type | Appearance | Typical Cost | DIY Difficulty |
|---|---|---|---|
| Limestone | Clean, classic, common in North Texas | Varies by supplier and cut | Moderate |
| Moss rock | Rustic, irregular, natural-looking | Varies by size and availability | Moderate to high |
| Flagstone | Flat, layered, low-profile look | Varies by thickness and finish | Moderate |
Limestone works well on many North Texas homes because it feels native to the area and is easy to match from one project to another. Moss rock has a looser, more natural feel, but the irregular shapes can take longer to stack cleanly. Flagstone gives a flatter, more precise edge, though it usually takes more patience to get even courses if the ground is uneven.
Prices move around by quarry source, cut, thickness, and delivery, so local yard quotes are more useful than generic online averages.
Make the border fit the yard and the tree's future size
The border should belong with the house and planting beds already in place. It also has to make sense for the tree five or ten years from now, not just this season.
Ask these questions before you mark the final shape:
- Does the stone match the style of the home? Chopped limestone reads differently than irregular fieldstone.
- Will it relate to other edging in the yard? Repeating materials usually looks cleaner than mixing three or four stone types.
- Is the bed wide enough for the canopy you already have? A tiny ring under a broad mature tree always looks undersized.
If you are also reworking the planting around that area, this guide to choosing the right trees for North Texas yards can help you keep the border in scale with the rest of the property.
Keep the stone secondary to the tree. The border should frame the root zone and improve maintenance, not pull attention away from a mature tree or create avoidable root stress.
Preparing the Site Without Damaging Tree Roots
A lot of tree damage starts with good intentions. A homeowner wants a clean stone ring, digs a neat trench, clips a few roots, and the tree begins showing stress a season or two later. Around mature trees in North Texas, the prep work matters more than the stone.

Why deep trenching fails around older trees
Mature trees keep many of their working roots in the top layer of soil. That is the same zone people disturb first when they try to trench for edging.
In North Texas clay, the problem gets worse. Heavy soil slows drainage, roots stay shallow for oxygen, and large surface roots are common under live oaks, red oaks, pecans, and older shade trees in established neighborhoods. Cut those roots to make the border line cleaner, and you can create decline that does not show up right away.
The mistake is usually small at first. One trench here, one chopped root there, a little added soil over the flare. The tree pays for all of it later.
A safer no-dig approach
Around a mature tree, use a build-over method whenever possible. The goal is to define the bed without cutting into the root zone.
Use this sequence:
- Mark the shape once: Lay out the curve with a hose or marking paint and study it from a few angles before you touch the soil.
- Pull turf carefully: Remove grass by hand near the tree. A flat shovel works farther out, but switch to a hand trowel or hori hori knife as soon as roots start showing.
- Leave major roots in place: Do not cut, shave, or scrape roots to force a cleaner line.
- Add base material above grade where needed: A shallow layer of crushed stone can help support the border without trenching through roots.
- Adjust the border to the tree: If one section has a raised root, widen the curve or let the stone ride slightly higher there instead of forcing a perfect circle.
That last step separates a lasting install from one that harms the tree for the sake of symmetry.
Homeowners comparing landscape edging options for different yard conditions usually focus on appearance first. Around established trees, the better question is how much digging the material requires.
What to watch for in clay soil
Clay changes the way this work behaves. Soil does not crumble cleanly, it sticks to tools, and it compacts fast when it is wet. If you work the area right after rain, you can smear the soil surface and make drainage worse around the root zone.
Keep the prep shallow. Do not pile soil or crushed stone against the trunk flare. If the tree already has exposed roots, treat that as a warning, not a flaw to hide.
When to stop and get help
Some conditions call for a lighter touch or a different plan altogether.
Pause if you find:
- Large surface roots close to the trunk: That usually means the root zone is too active for trenching.
- A buried trunk flare: The tree may already be stressed from excess soil or old mulch buildup.
- Visible decline in the canopy: Thin leaves, dead twig tips, or weak leaf-out are signs to avoid extra disturbance.
- Standing water or a slope toward the trunk: Stone borders can trap runoff in the wrong spot if the grade is not handled carefully.
A clean border is never worth sacrificing a mature tree. If the site fights you, let the border follow the tree instead of trying to make the tree fit the border.
Building a Stable and Well-Drained Stone Border
A stone border around a mature tree has to do two jobs at once. It needs to stay put through North Texas rain cycles, and it cannot trap water over roots that already struggle in heavy clay.
That second part gets missed all the time. A border can look clean on install day and still create a wet bowl after the first hard storm.
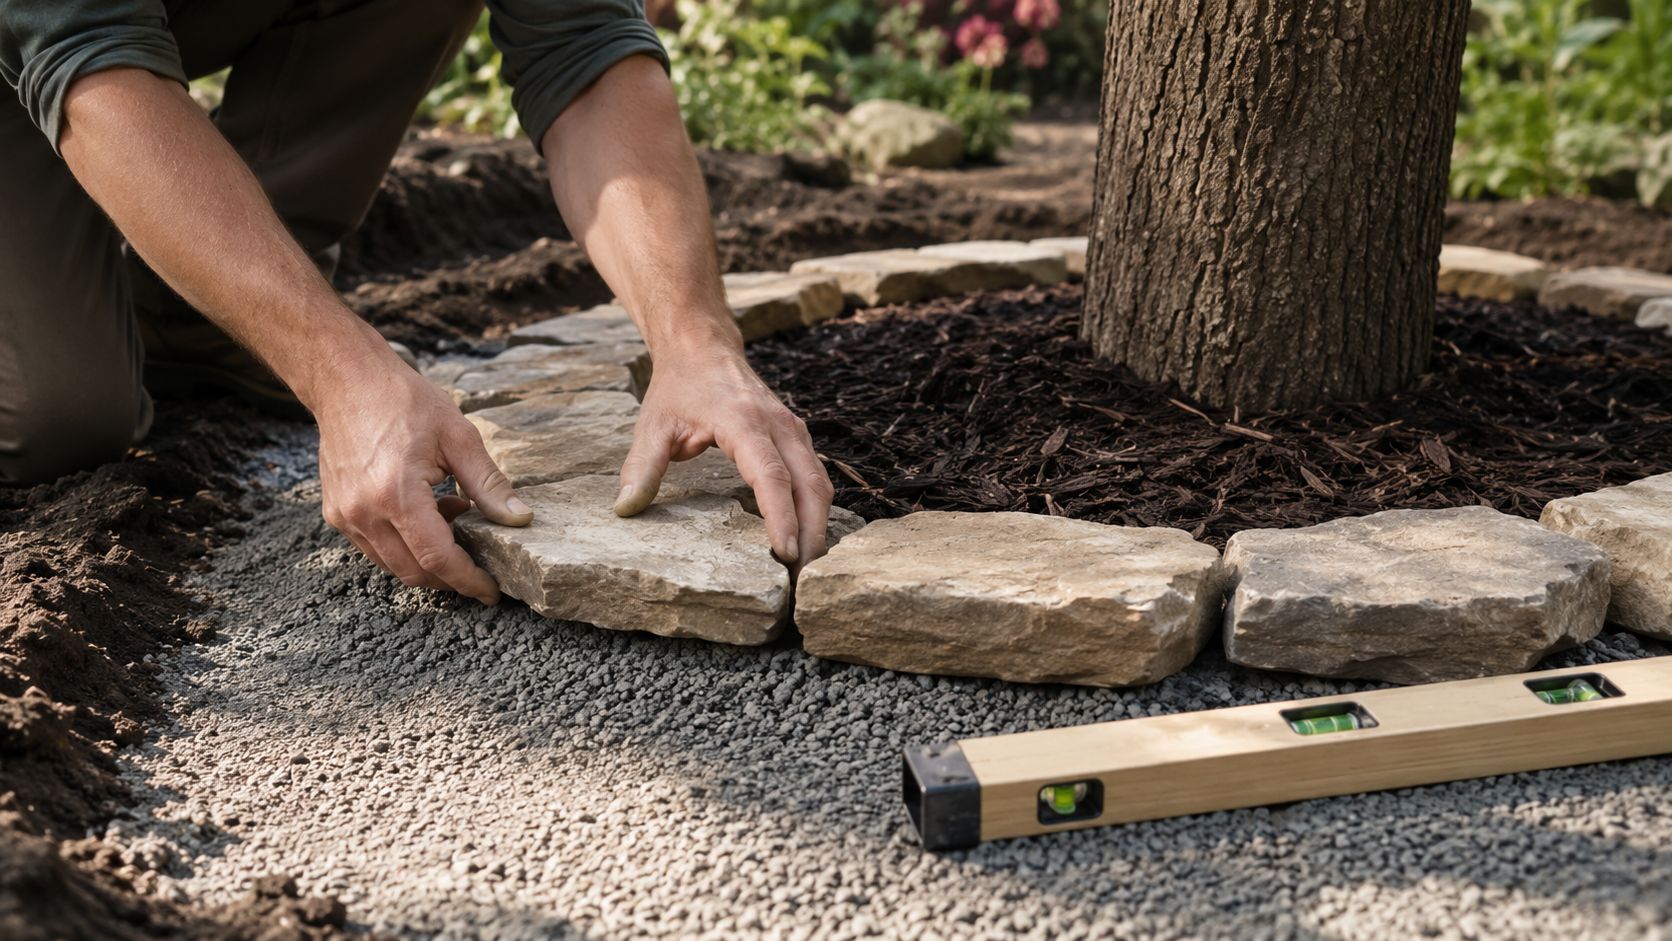
Set the first course carefully
The first row decides whether the border stays tight or starts shifting by next season. On tree jobs, I want that base stable without turning it into a sealed ring.
A reliable install usually looks like this:
- Dry-fit the stones first: Set the full curve before you commit. This helps you balance stone size, face shape, and joint spacing.
- Start with the flattest pieces: They sit better on shallow prep and wobble less.
- Match the existing grade: A tree ring does not need to be perfectly level all the way around if the yard slopes. Forcing it level often creates low spots that hold water.
- Tap stones in gently: A rubber mallet seats them without chipping softer material.
- Check each piece from two angles: A stone can look right from the front and still lean inward or outward.
If you are still weighing materials, this guide to landscape edging options for North Texas properties helps compare stone with metal, brick, and other border choices.
Build for drainage, not just appearance
Around trees, a little permeability helps more than a hard, tight seal. Water needs a way to pass through or around the border instead of collecting inside it.
In clay soil, that matters fast. After a storm, water that sits against the inner edge can keep the upper root zone wet longer than it should. Mature trees need oxygen at those roots just as much as they need moisture.
Use these principles during the build:
- Leave small joints between stones: Tight enough to look intentional, open enough to avoid creating a dam.
- Use crushed stone sparingly where support is needed: A thin layer can help seat unstable pieces without building a bathtub around the bed.
- Keep the border low: One course, or a low stacked profile, is usually the safer choice around established trees.
- Pitch runoff away from the trunk: If one side of the bed catches roof or yard runoff, account for that before you lock in the stone line.
A tree bed should drain like the rest of the yard. If the border blocks that, the border is the problem.
Don't build a planter around the trunk
Homeowners often like the look of a taller ring, especially with larger stone. Around an existing tree, height usually creates trouble. The taller the wall, the more tempting it is to add soil behind it, and extra soil over roots can stress a mature tree for years.
Get the visual weight from the stone itself instead. Broader stones, a natural face, and a clean curve give the border presence without burying the root zone.
After the border is in, watch it during the next good rain. If water stands inside the ring, open a few joints, lower a section, or remove buildup behind the stones. Fixing drainage early is a lot cheaper than trying to solve decline in a mature tree later.
Applying Mulch and Final Finishing Touches
The stone border frames the bed, but mulch is what makes the area function. Through mulch, the tree receives moisture moderation, surface-root protection, and weed suppression without direct competition from turf.
Keep the mulch in a broad donut shape, not a volcano. The bed should look full across the root zone and open at the trunk flare.
Mulch it the right way
Use organic mulch and spread it evenly across the bed surface.
The target profile is simple:
- Across the bed: Keep mulch consistent and tidy.
- Near the trunk: Taper the mulch down so the flare stays visible and dry.
- Over exposed roots: Let mulch cushion them lightly, but don't bury the whole base of the tree under a thick mound.
If you can't see where the trunk starts to widen at the bottom, pull mulch back until you can.
Clean finish details that matter
The difference between a polished job and a rushed one usually shows up in the small things.
Handle these before you call it done:
- Brush stone faces clean: Dust and clay film make new stone look dull.
- Remove turf runners: Bermuda will creep through open spots if you leave live edges in place.
- Check stone stability: Any wobble now becomes a bigger shift later.
- Water the bed lightly after mulching: This settles loose material and shows whether runoff is moving the way it should.
Ongoing upkeep
Stone borders around trees aren't zero-maintenance. They're just easier to maintain than grass to the trunk.
Plan on:
- Refreshing mulch as it breaks down
- Pulling weeds from joints and gaps by hand
- Re-seating any stone that shifts after weather changes
- Watching the trunk flare so mulch doesn't creep back against it
A well-built border should age naturally, not need a rebuild every season.
Common Questions About Stone Tree Borders
Should you use landscape fabric under the bed
Usually, no. Around trees, fabric often creates more headaches than it solves. It interferes with easy mulch refreshes, catches roots over time, and tends to become exposed as mulch shifts and decomposes.
Is mortar a good idea
Sometimes for purely ornamental hardscape work, but it's usually not my first choice around established trees. Mortar reduces flexibility and can worsen drainage if the border becomes too sealed. A dry-laid, permeable design is usually the safer fit in North Texas.
How do you mow around the new border
Set the bed line wide enough that you're not trying to trim tight against the trunk anymore. Edge the lawn side cleanly, keep mower wheels off the stone when possible, and use a string trimmer carefully so you don't chip the border or scalp the bed edge.
What if the tree looks stressed after installation
Watch for thinning leaves, branch tip dieback, or a canopy that doesn't fill in normally. If that happens, stop making changes around the tree and get professional tree advice quickly. Stress from root damage or drainage changes often shows up after the work is finished, not during the install.
The best stone border is the one that still looks good after a storm, after summer heat, and after the tree leafs out again.
Can you plant flowers inside the stone border
You can, but keep the planting light and tree-friendly. Avoid turning the whole area into a crowded seasonal bed that needs frequent digging, heavy irrigation changes, or constant reworking of the soil around roots.
If you want stone borders around trees that look clean and protect the root zone instead of putting it at risk, Rosewood Landscape Group works with DFW homeowners on outdoor design, drainage, hardscaping, and tree-conscious site improvements built for North Texas conditions.
Related posts
8 Best Shrubs for North Texas Landscapes in 2026
Permeable Paver Installation: A DFW Homeowner’s Guide
Zoysia Grass Fungus: Identify, Treat & Prevent in 2026
How to Improve Soil Quality: Easy Ways to Improve Soil
Take All Root Rot: Diagnose & Treat Your Lawn